Iteration 3: Build Photo Detail View
Iteration 3: Build Photo Detail View
Learning Goals
- Create a segue to another view, and connect that view to code file
- Build functionality for user to see the detailed photo after tapping on a row in table view.
The Plan
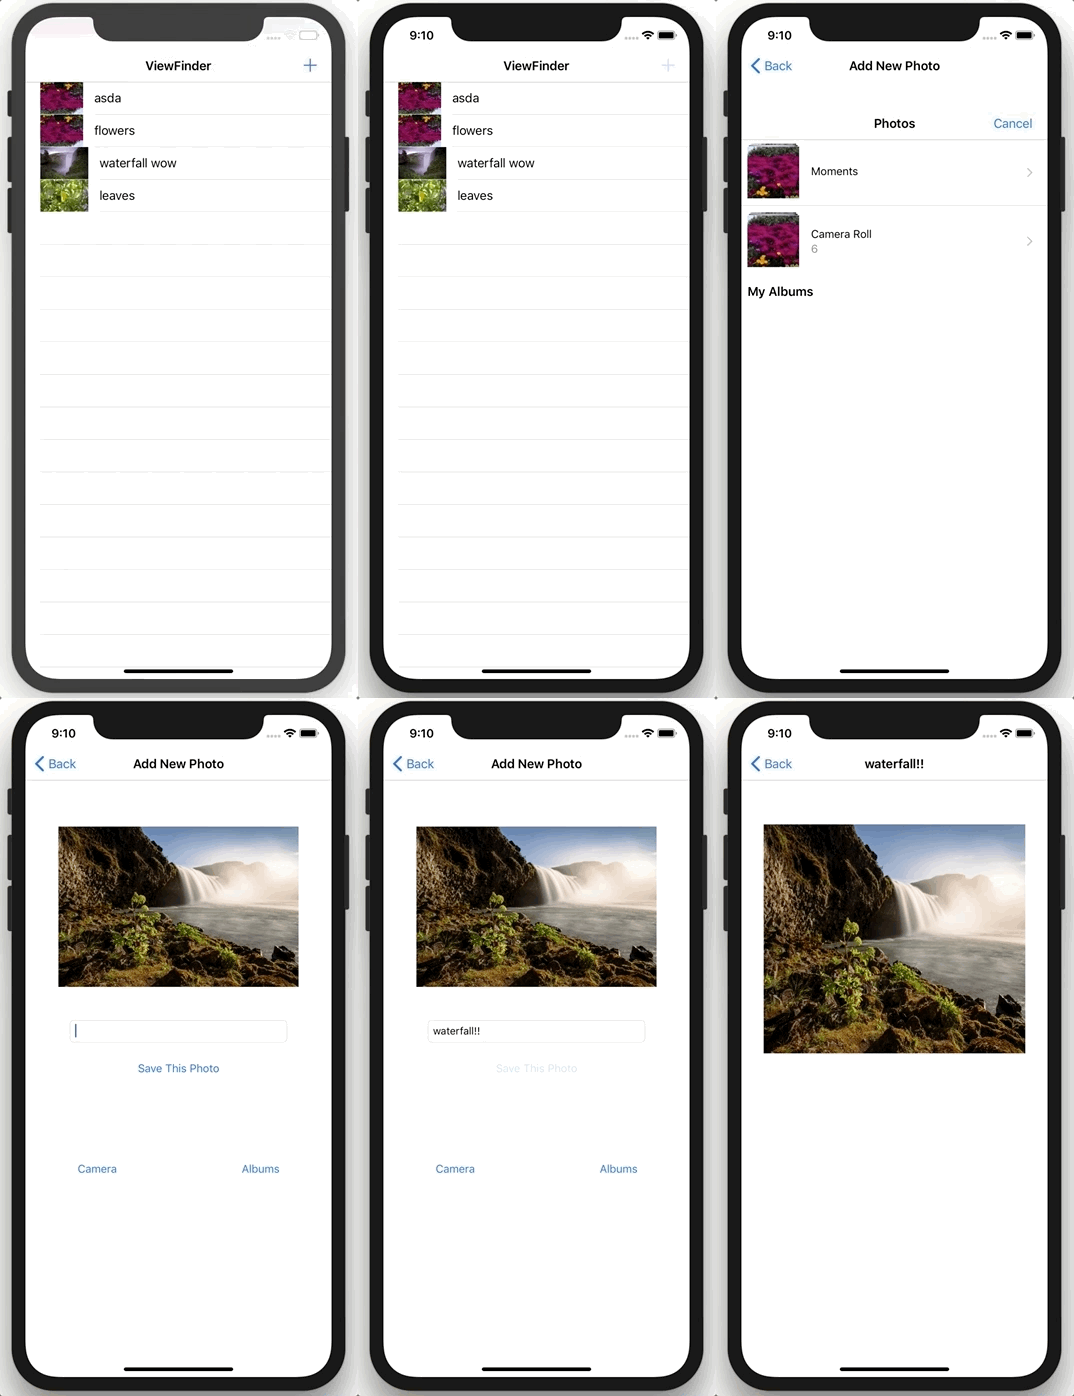
In this iteration, we will build another StoryBoard that will hold the view your user will see when they tap on an already-saved photo to their app, a detail view of a photo and its caption. It will have the functionality shown below:

Getting Started
- Open up your ViewFinder project
- Make sure you have completed the Core Data Lab before starting
Build Photo Detail View
-
Drag a new
View Controlleronto your StoryBoard. -
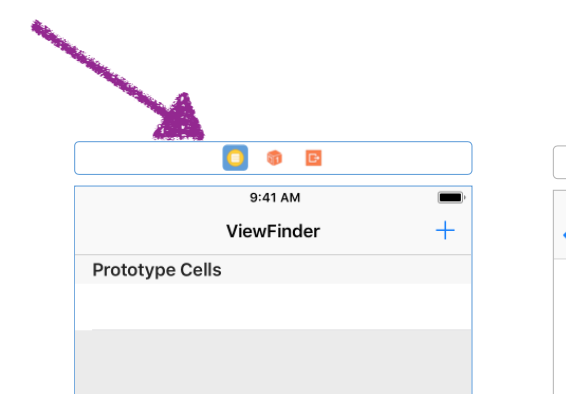
Create a segue between the Table View Controller and the new View Controller. Make sure you have the entire controller selected when you click and drag. A
Navigation Barwith a back button appears; feel free to change the title in the center of that bar.

-
On your new
View Controller, drag anImage Viewonto it and size however you would like. -
Create a
ViewControllerfile so we can write code that controls the new View. File ➡ New ➡ File ➡ Cocoa Touch Class ➡ Class Name: (something like PhotoDetailViewController, up to you), Subclass of: (must be UIViewController) ➡ ClickNext➡ ClickCreate -
To connect this View Controller to the View on the StoryBoard, select the View on the Storyboard. In the Utilities Pane, select the
Identity Inspector, and under Custom Class, select the class as the name of the file you just created. -
Create an outlet for the image on the StoryBoard to our new code file.
-
Right below the outlets, create a property. For this example we will use the variable name
photo, with the optional type (again in this example),Photos.Photoswas used here because it is the entity name in Core Data.
var photo : Photos? = nil
- In your
Table View Controllerfile, write atableViewfunction - when you start typing, it will being to autocomplete. Select the function that includesdidSelectRowAt. Inside that function, call theperformSeguefunction - it will auto-complete. Thesender:value should bephotos[indexPath.row]- photos was the variable that started off as the empty array. For thewithIdentifiervalue, we need to hop over to the StoryBoard to get some information.- In the StoryBoard, click on the segue you established between the
TableViewControllerand thePhotoDetailView. In the Utilities Pane, click on the Attributes Inspector. Under “StoryBoard Segue”, we need to type in an Identifier. It should be descriptive - maybemoveToDetail, ordetailSegue. - Whatever you just named the segue Identifier in the step above, that should go, in a string, as the value of the
withIdentifierargument in theperformSeguefunction back in the Table View Controller.
- In the StoryBoard, click on the segue you established between the
-
Now that we’ve told the program to perform the segue, we need to tell it how to prepare. Outside of the
tableViewfunction we just worked on, start typing outprepareand anoverride func prepare(for segue ...)should auto-populate. - Inside the
preparefunction, we first need to check if we are dealing with the correct segue - in this example’s case,moveToDetail. Your code should look something like this:
override func prepare(for segue: UIStoryboardSegue, sender: Any?) {
    if segue.identifier == "moveToDetail" {
        // need to get access to View Controller we want to move to
    }
}
- Now that we know the request was made to use the correct segue, let’s use an
if letto get into the seguedestination- thePhotoDetailViewController.
override func prepare(for segue: UIStoryboardSegue, sender: Any?) {
    if segue.identifier == "moveToDetail" {
        if let photoDetailView = segue.destination as? PhotoDetailViewController {

        }
    }
}
- Our next line of code will make sure that we have the type of Core Data object we are expecting. In this case we only have
Photos.
override func prepare(for segue: UIStoryboardSegue, sender: Any?) {
    if segue.identifier == "moveToDetail" {
        if let photoDetailView = segue.destination as? PhotoDetailViewController {
          // now we need to say, whichever row was tapped, take that photo
          // and send it to the over view
        }
    }
}
- Let’s take the photo that was tapped on and send it to the
PhotoDetailViewController.
override func prepare(for segue: UIStoryboardSegue, sender: Any?) {
    if segue.identifier == "moveToDetail" {
        if let photoDetailView = segue.destination as? PhotoDetailViewController {

          if let photoToSend = sender as? Photos {
                   photoDetailView.photo = photoToSend
          }

        }
    }
}
Run your application - what is happening when you tap on a row in the Table View? What is still missing?
-
In the
PhotoDetailViewController(or whatever you titled yours!), we need to write some code in theviewDidLoadfunction. This will tell the View, “as soon as you load, please do XYZ.” The XYZ in this case will be, display the photo I told you about! -
First, we need to make sure we have a photo.
override func viewDidLoad() {
    super.viewDidLoad()

    if let realPhoto = photo {

    }
}
- Now, we need can make the title on the nav bar match the title you gave the photo:
override func viewDidLoad() {
    super.viewDidLoad()

    if let realPhoto = photo {
        title = realPhoto.caption
    }
}
- Lastly, we are going to use a bit of code we wrote in the Table View Controller to get the imageData, convert it to the right format, then make that Image View show the photo that was tapped on!
override func viewDidLoad() {
    super.viewDidLoad()

    if let realPhoto = photo {
        title = realPhoto.caption

        if let cellPhotoImageData = realPhoto.imageData {
            if let cellPhotoImage = UIImage(data: cellPhotoImageData) {
                photoDetail.image = cellPhotoImage
            }
        }

    }
}
❗️Commit Your Work ❗️
In your terminal, make sure you are still in the viewfinder directory. Add and commit your changes. Your commit message should be something like “Complete Iteration 3”.
Let’s keep going! Move on to Iteration 4