Iteration 4: Delete Functionality
Iteration 4: Delete Functionality
Learning Goals
- Students will build delete functionality on a single row in the table view
Plan
This lesson will be the cherry on top! We will add in the ability for a user to delete a saved photo/caption from the table view.

Getting Started
- Open up your ViewFinder project
- Make sure you have completed the Build Photo Detail View Lab before starting
Delete Functionality
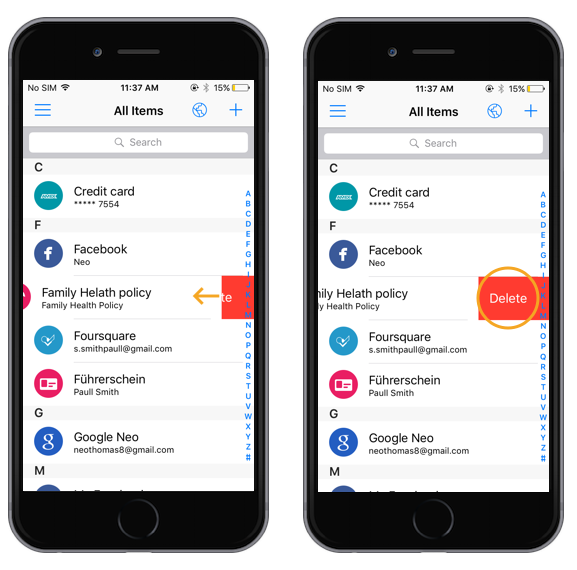
We’ve seen some of the great built-in Apple tools that we can use as we develop iOS apps - something we will implement today is the swipe left to open an option to delete. This will allow our users to delete a photo/cation from the Table View, similar to this:

-
In your
TableViewControllerfile, un-comment out thetableViewfunction that hascanEditRowAtin the argument and thetableViewfunction that includescommit editingStylein the argument. -
Inside that second
tableViewfunction, delete theelse ifstatement. Delete the code inside of theifblock.
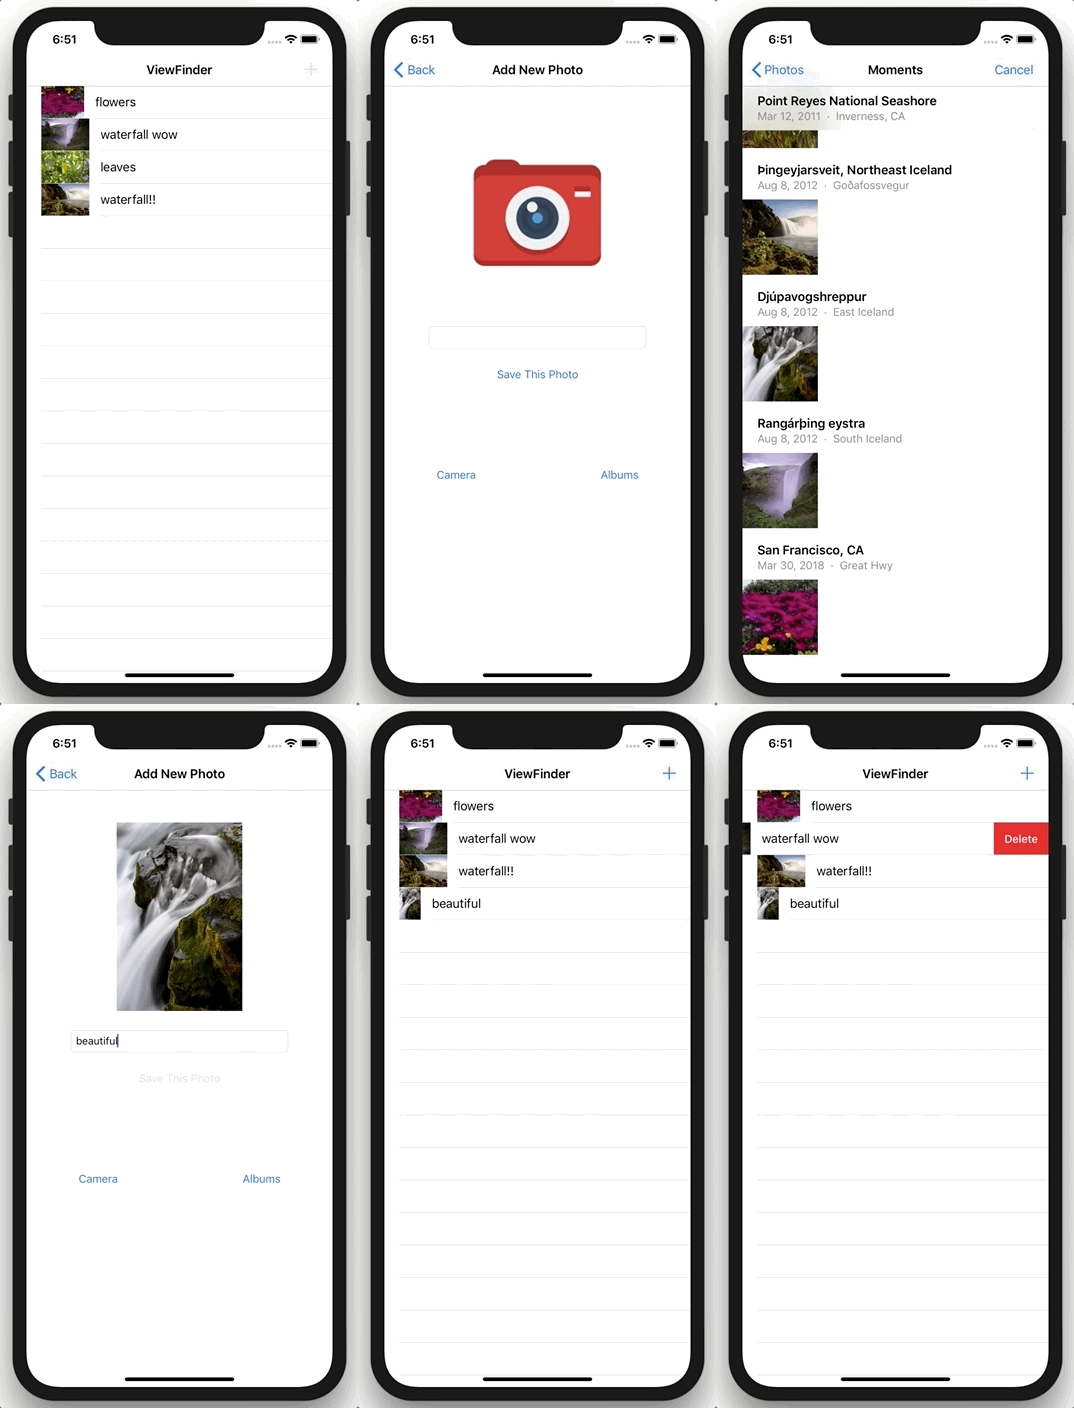
Run your simulator - you should be able to swipe on a row and see a delete button appear on the right side. However, this button shouldn’t work yet!
-
Look at that
ifblock in your code. It is saying, “If the editing style is ‘delete’, then do something.” Since that ‘something’ is empty, nothing is happening when we tap thatdeletebutton. -
Inside of the
ifblock, let’s write a print statement.
Running the app in the simulator again, try to delete a row. Do you see the print statement show up in your Debug Area?
- Now, let’s write some code to actually get this row to delete! Since we want to delete this from Core Data, we need to get the context again.
if editingStyle == .delete {
  if let context = (UIApplication.shared.delegate as? AppDelegate)?.persistentContainer.viewContext {
    // now that we have access to Core Data, we need to select the row, then delete the photo
    // we also need to save the context and reload
  }
}
- Next, let’s select the row that was swiped - this will look familiar (keep in mind, this example used
photosas that empty array that we created at the top of the class. You might be using a different variable):
if editingStyle == .delete {
  if let context = (UIApplication.shared.delegate as? AppDelegate)?.persistentContainer.viewContext {
    let photoToDelete = photos[indexPath.row]
    // now delete, then save, then reload
  }
}
- Now, we actually need to delete this photo! We will use a
deletefunction, that takes one argument - the thing we want to delete! This will delete the record of this photo and its caption from the Core Data database.
if editingStyle == .delete {
  if let context = (UIApplication.shared.delegate as? AppDelegate)?.persistentContainer.viewContext {
    let photoToDelete = photos[indexPath.row]
    context.delete(photoToDelete)

    //save to context, then reload
  }
}
- Last step - we’ve also seen these before. Let’s add the following lines in below the line where we deleted the photo from the context.
    (UIApplication.shared.delegate as? AppDelegate)?.saveContext()
    getPhotos()
- Run your app - is the delete functionality working? It should be. If not, re-read through this, double-checking everything, then ask another team or an instructor for a second pair of eyes.
Final Clean-Up
Look through all of your code files. Are there any green comments that need to be deleted? In the TableViewController there are probably 3 pre-written functions that we never used and are still commented out in green. Let’s delete any extra comments, and clean up whitespace so our code is as readable as possible!
❗️Commit Your Work ❗️
In your terminal, make sure you are still in the viewfinder directory. Add and commit your changes. Your commit message should be something like “Complete Iteration 4”.
Extension
- Do some research - can you find any documentation or blogs on how to show the trash can icon instead of the word ‘Delete’ on that red space that appears when you swipe?
UITableViewCellEditingStylemight be helpful to include in your google search. If you find a good resource and want to change to an icon for your project, go for it!